
 Консультации строителя онлайн.
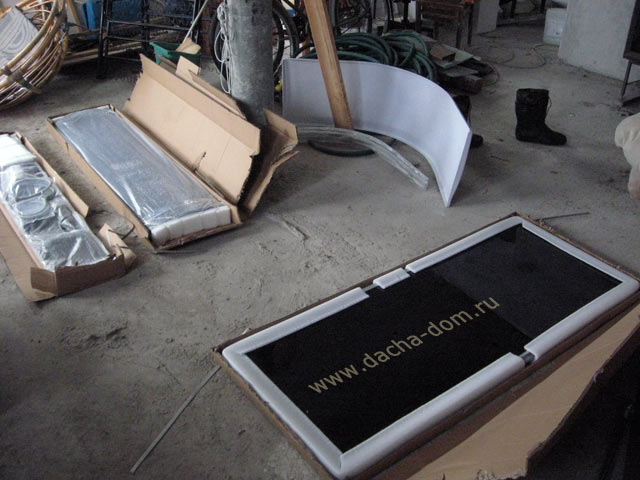
How to install a corner shower box? I bought a noname "Made in China" corner shower box with glass doors. The price was good and I liked the design. The only problem was the assembling manual. It was written in lacaonic language: "Step #1: Assemble tray. Step #2: Assemble walls"... So I had to work through the process of the corner shower assembling and installation myself. It took some time an dI made couple mistakes.
Here is my illustrated corner shower box assembling and installation manual.
 |
 |
|
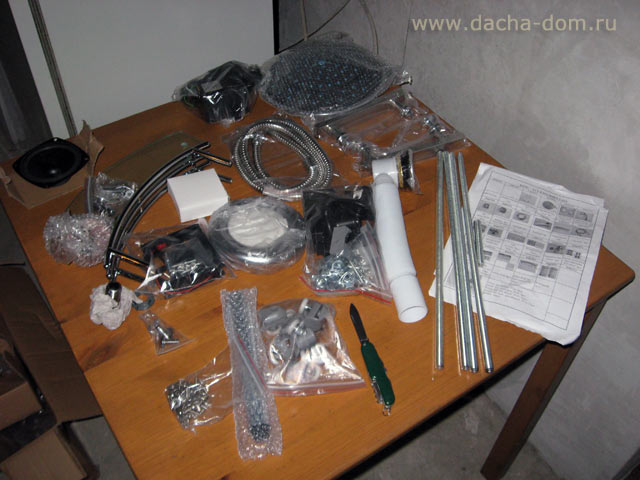
| Open the shower box package and check the safety glasses. You can check glasses in a store: shake the package. No bounce - no glass cracks. | The most important shower stuff is in a separate box: all shower accessories and fasteners. Check all the little parts: screws, washers, etc. |
|
 |
 |
|
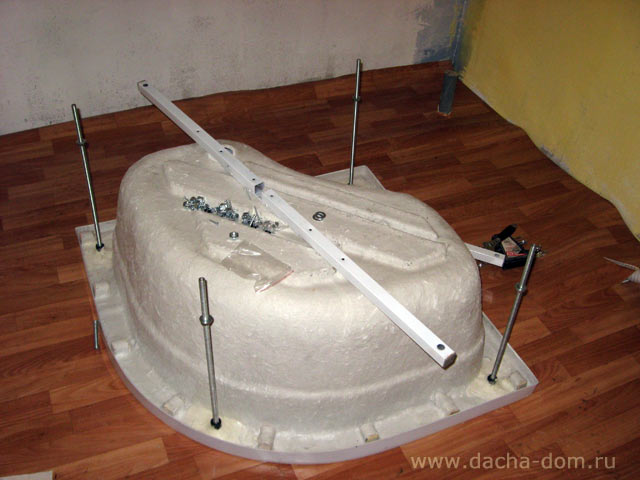
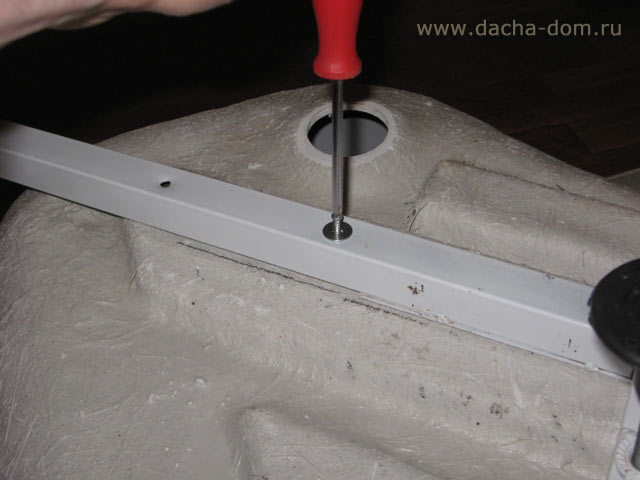
Carefully screw in long studs into the shower tray. Protect your hands with gloves: tray is made from the glass fiber: beware of splinters! |
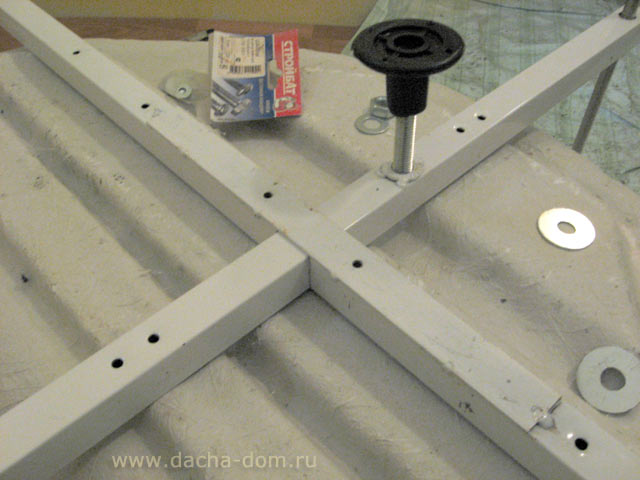
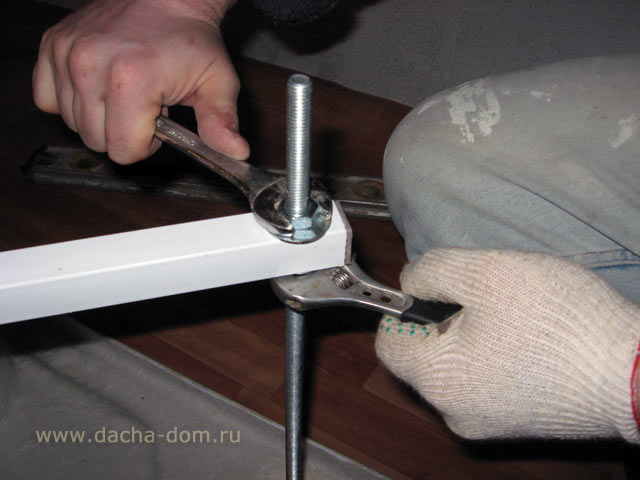
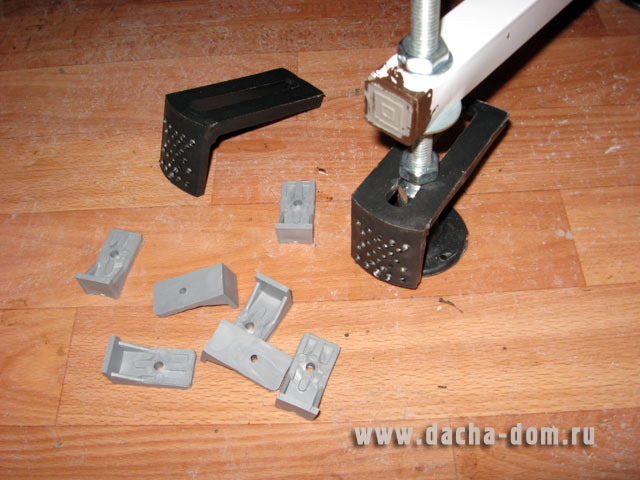
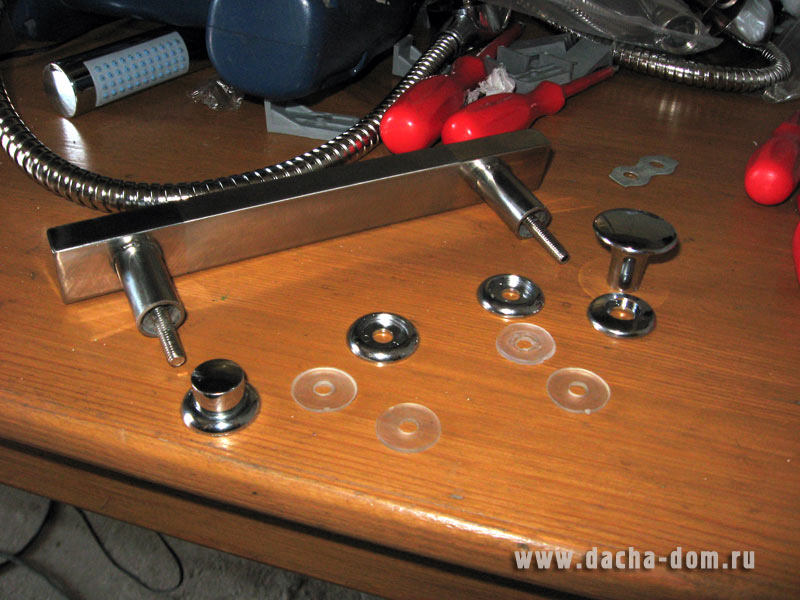
Screwing bolts, nuts and nut washers. Fit criss-cross shower tray frame support. |
|
 |
 |
|
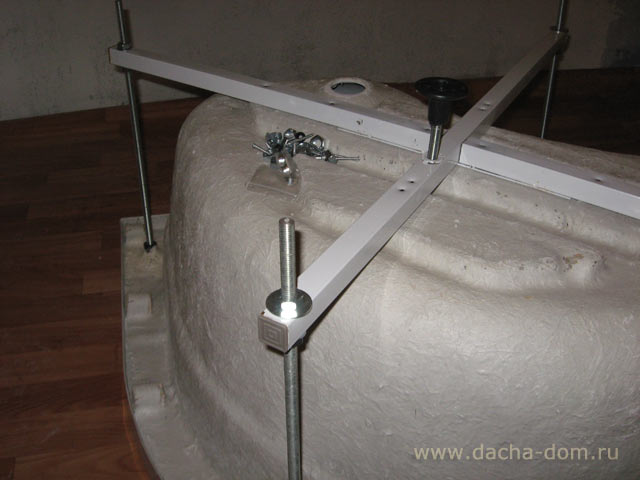
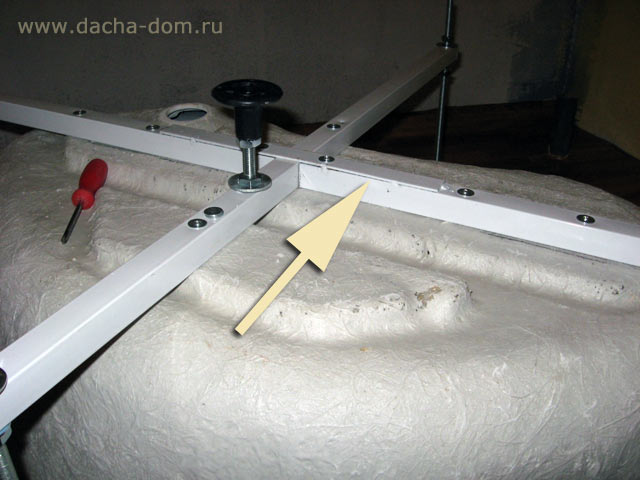
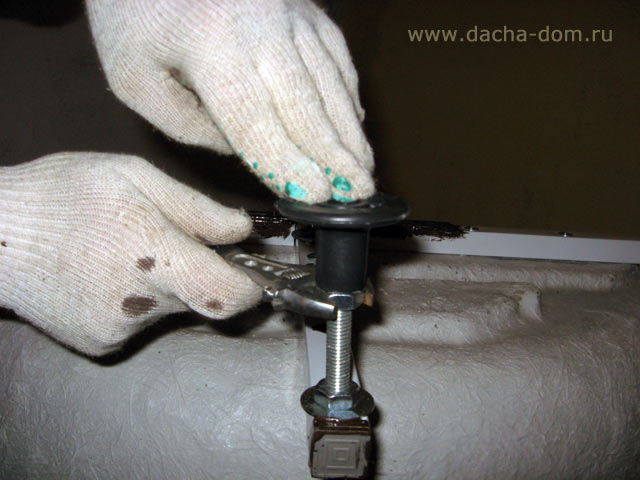
| Screw in the central support foot. | Fix the central shower tray support foot with the nut. |
|
 |
 |
|
Fixing the shower tray support to wood blocks inside the shower tray. |
Do not tighten the shower tray support screws untill support stand nuts will be tightened well. Otherwise the support deformation can turn the screws off the wood blocks. |
|
 |
 |
|
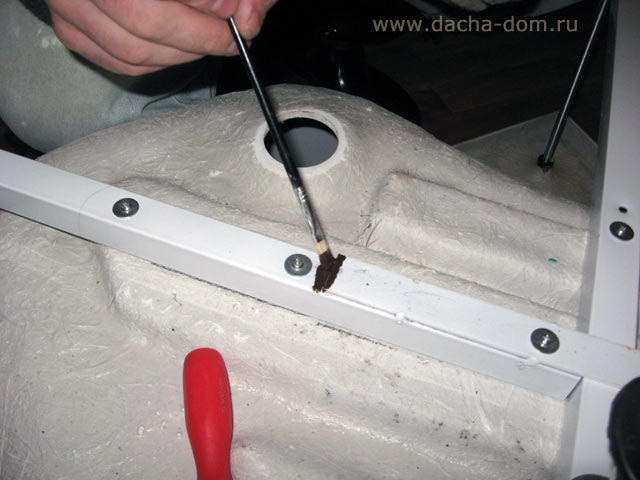
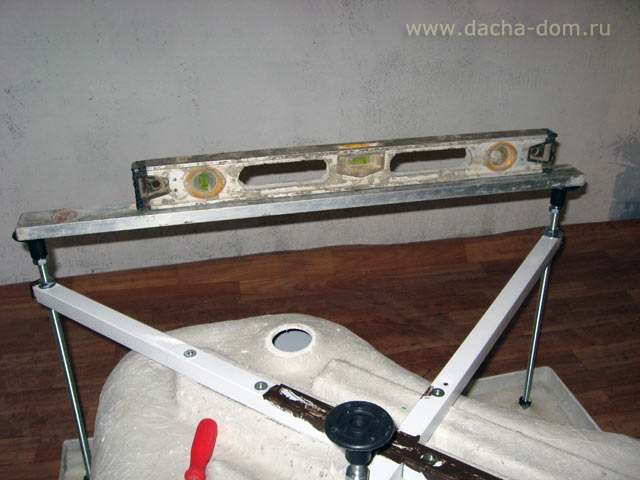
| Paint well the rust points on support metall beams. | Level the shower tray support feet. |
|
 |
 |
|
| O-o-ps! We've forgot about the tray screen fasteners! | Fit the shower stray screen fasteners and the tray feet and fix it with nuts and washers. |
|
 |
 |
|
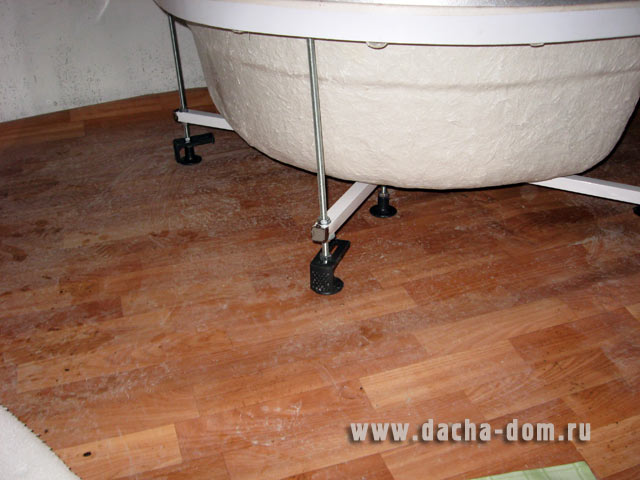
Check the feet level. |
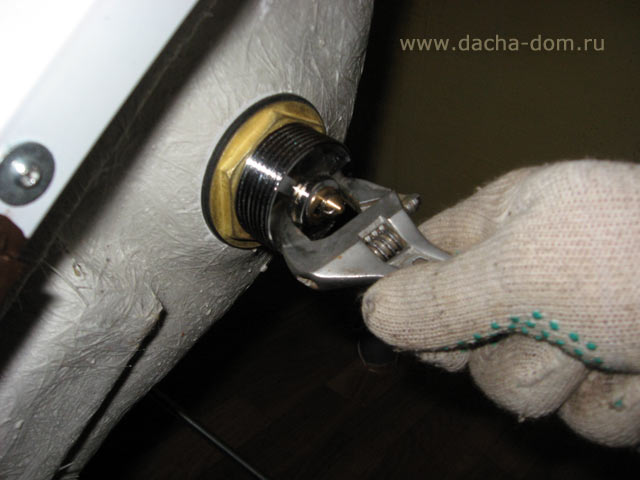
Fit the shower trap system. |
|
 |
 |
|
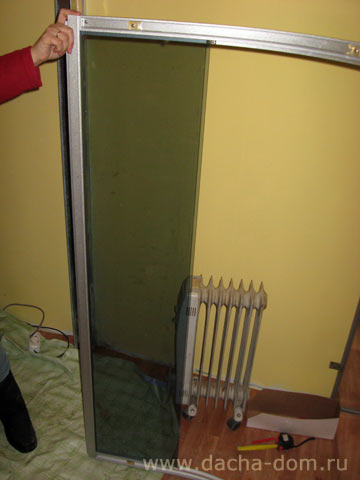
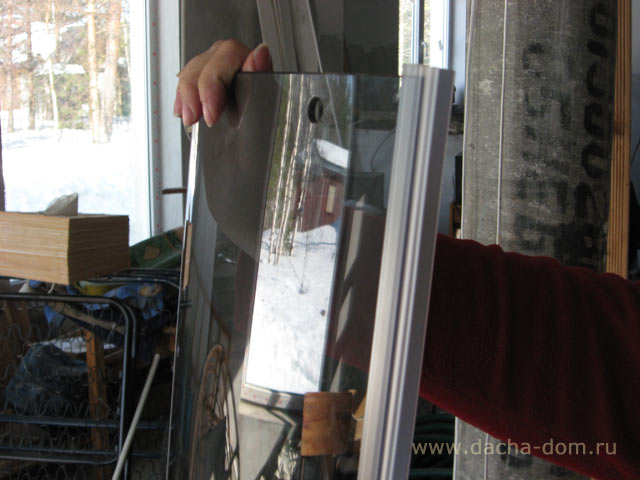
| Attaching the shower trap pipe. | Assembling the shower glass walls. |
|
 |
|
|
Applying the silicone waterproof sealant. |
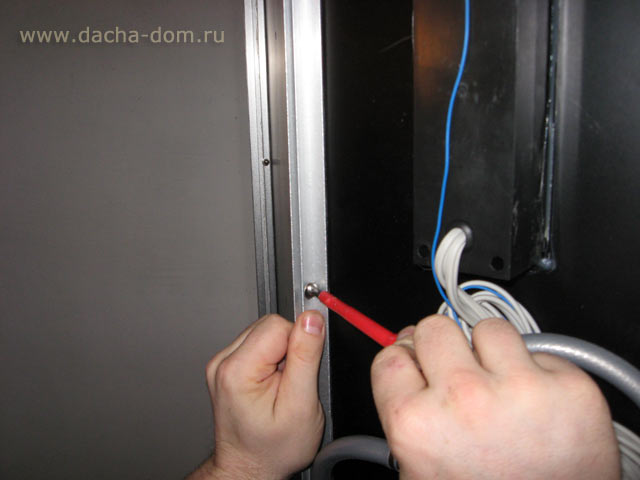
Fastens the rack and the glass walls support arch. Screw it at the op and the bottom of the rack. |
|
|
 |
|
| Put on the silicone sealant with a "petal" faced inside shower glass door. | Use silicone sealant to fix glass walls rack at the shower tray. Do not use screws! |
|
 |
 |
|
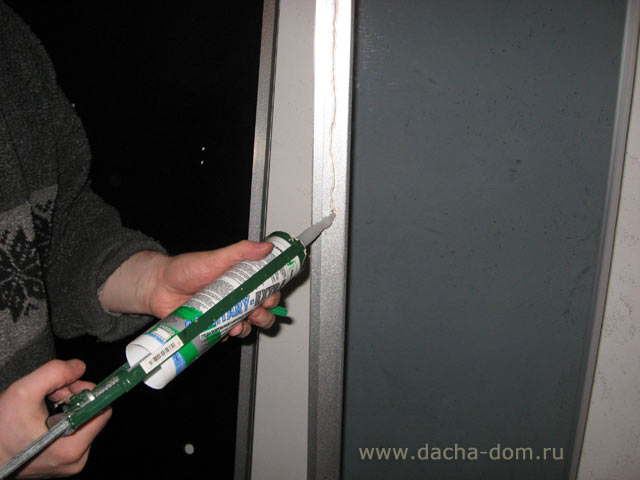
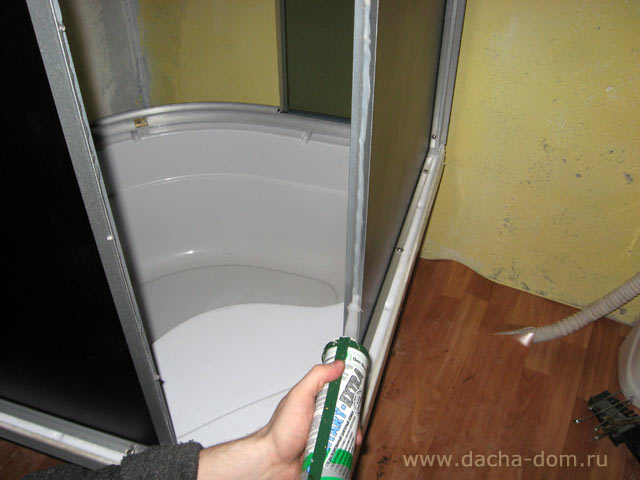
Apply silicone on the shower walls joint... |
and on a shower tray... Do not forget to remove a shower tray protective film. |
|
 |
|
|
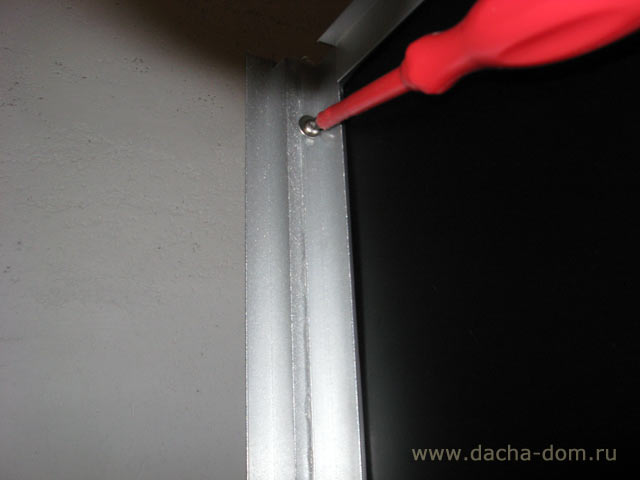
| Fasten the shower glass walls rack with screws. | Now fasten the shower glass walls rack and shower tray with screws. There are special drilled places in a tray. |
|
 |
 |
|
Do the same with the second corner shower back wall part. |
Appply the silicone sealant to mount the back shower panel. |
|
 |
 |
|
Fasten the back shower panel with screws. |
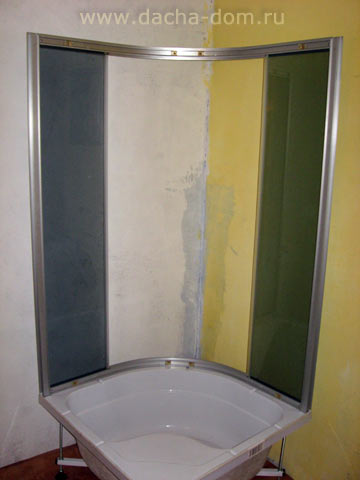
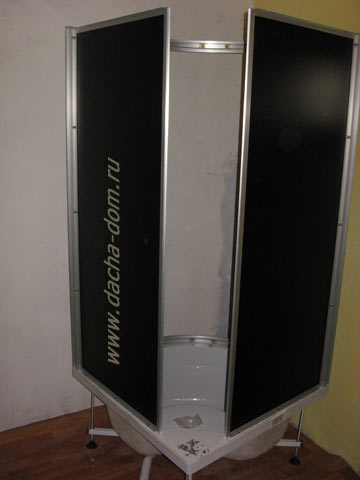
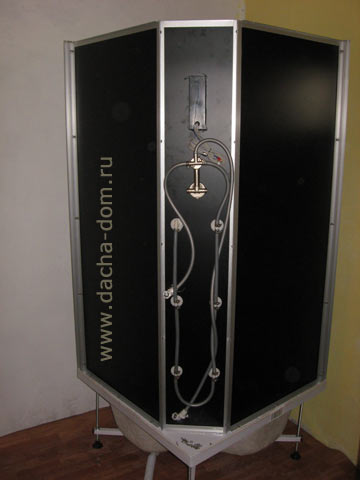
The shower walls are assembled. |
|
 |
|
|
| Preparing shower glass doors to installation. Inastall and adjust the top rollers. The bottom glass door rollers can be pushed - pulled during the shower door installation. | Adjust the top rollers when the shower glass door are installed. |
|
|
 |
|
Then fit the plastic plugs for door rollers screw holes. |
Halfway passed! |
|
 |
 |
|
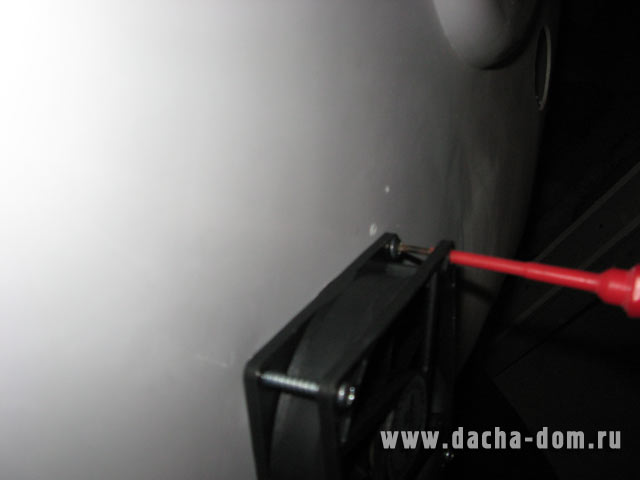
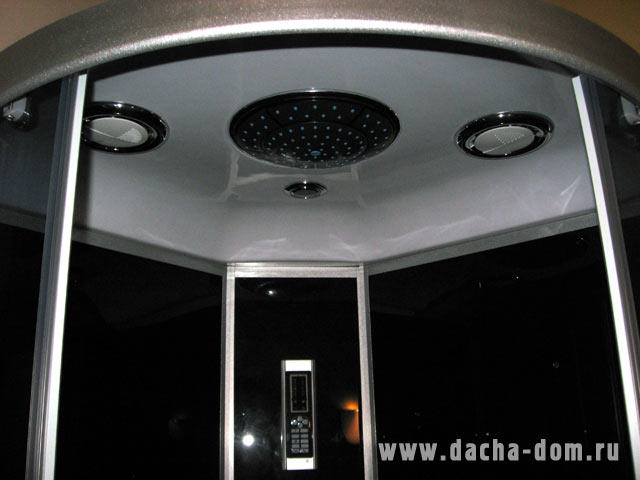
Shower box top with tropical shower, fan, speaker and backlight light. |
Screw it!. |
|
 |
|
|
Apply sealant to prevent speaker dribbling. |
Connecting top tropical shower pipe. |
|
 |
 |
|
Corener shower box top view from inside. |
Installing shower doors handles. |
|
 |
|
|
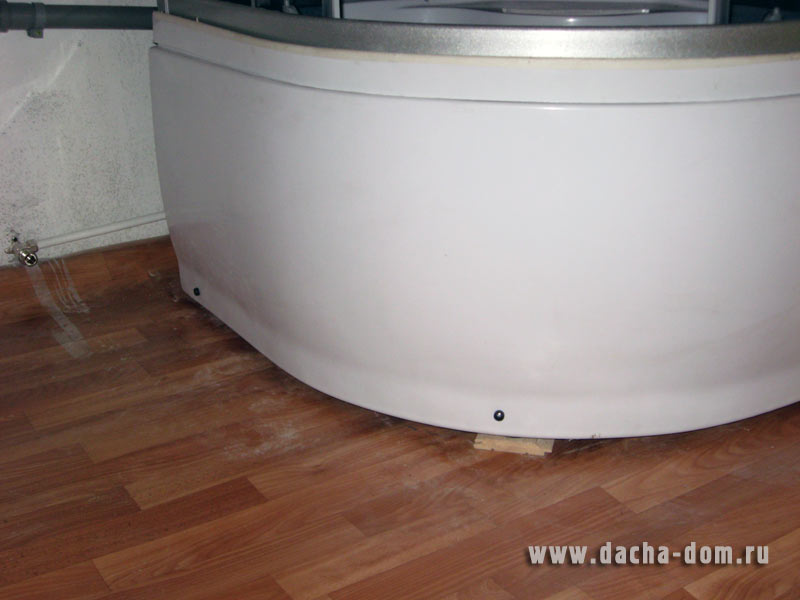
Coonnect all water pipes fromthe back. Level the shower stray and install the shower tray screen. |
The corner shower box unit is assembled and installed. |


